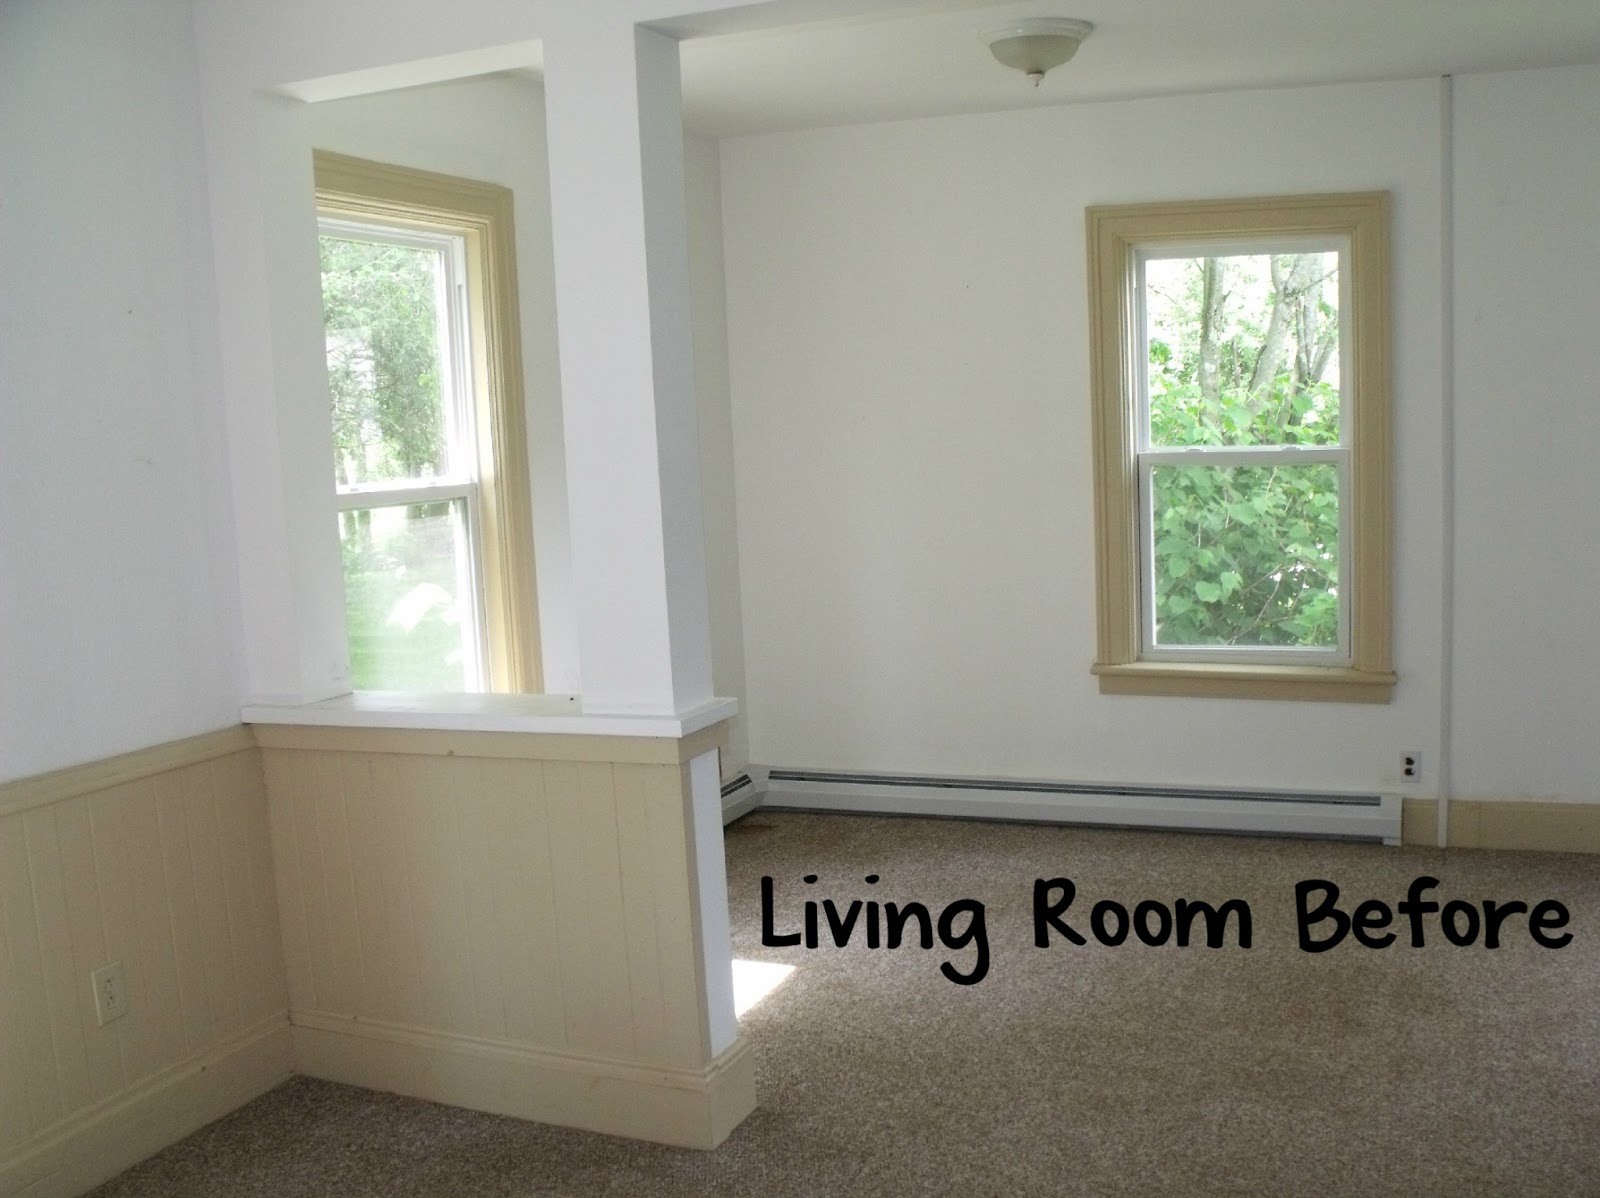
When we first walked through the living room of this house, we were concerned. It was split up into two narrow spaces. There was no way it would work for us. We immediately knew that the only way we could buy this house was if the walls could be taken down. Our first step was to check with a contractor to see if it could be done and what it would cost. We had someone come right away and asses all the work that needed to be done before we put an offer on the house. The good news came, we could take down those walls and it was within budget! We were sold!
Here are the before and after pictures!
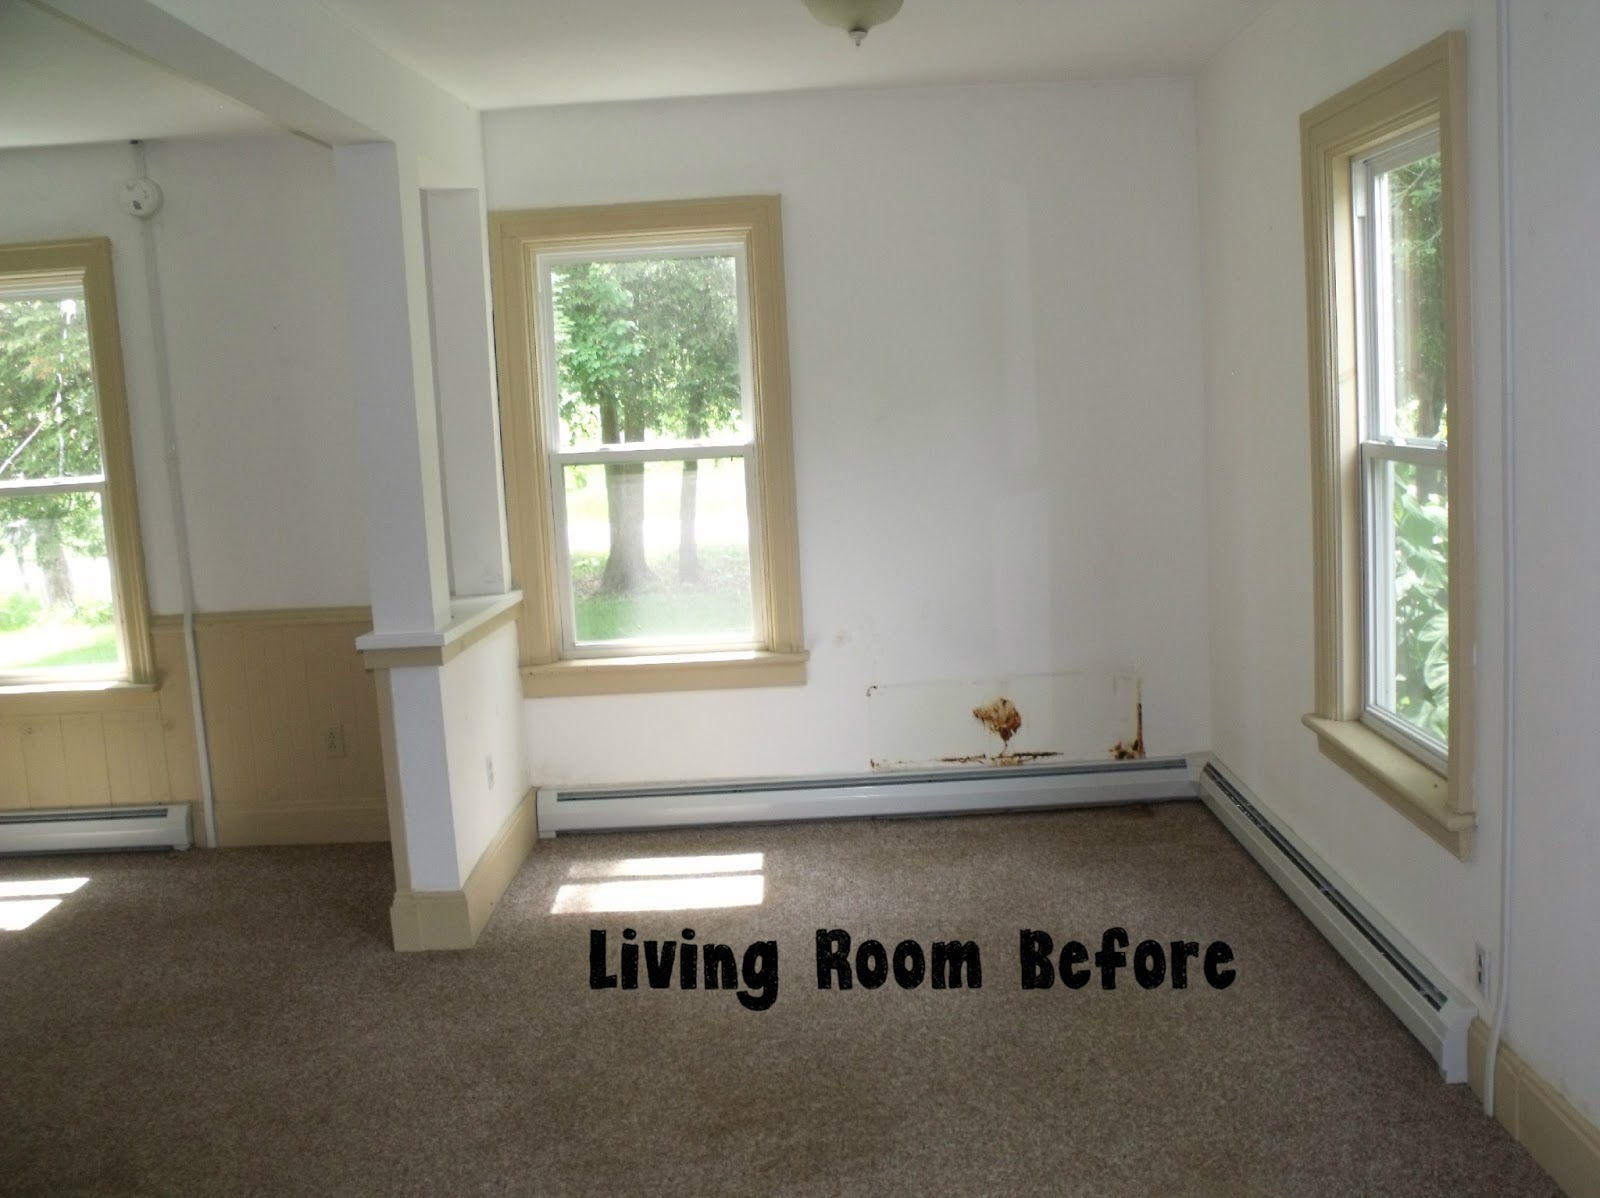
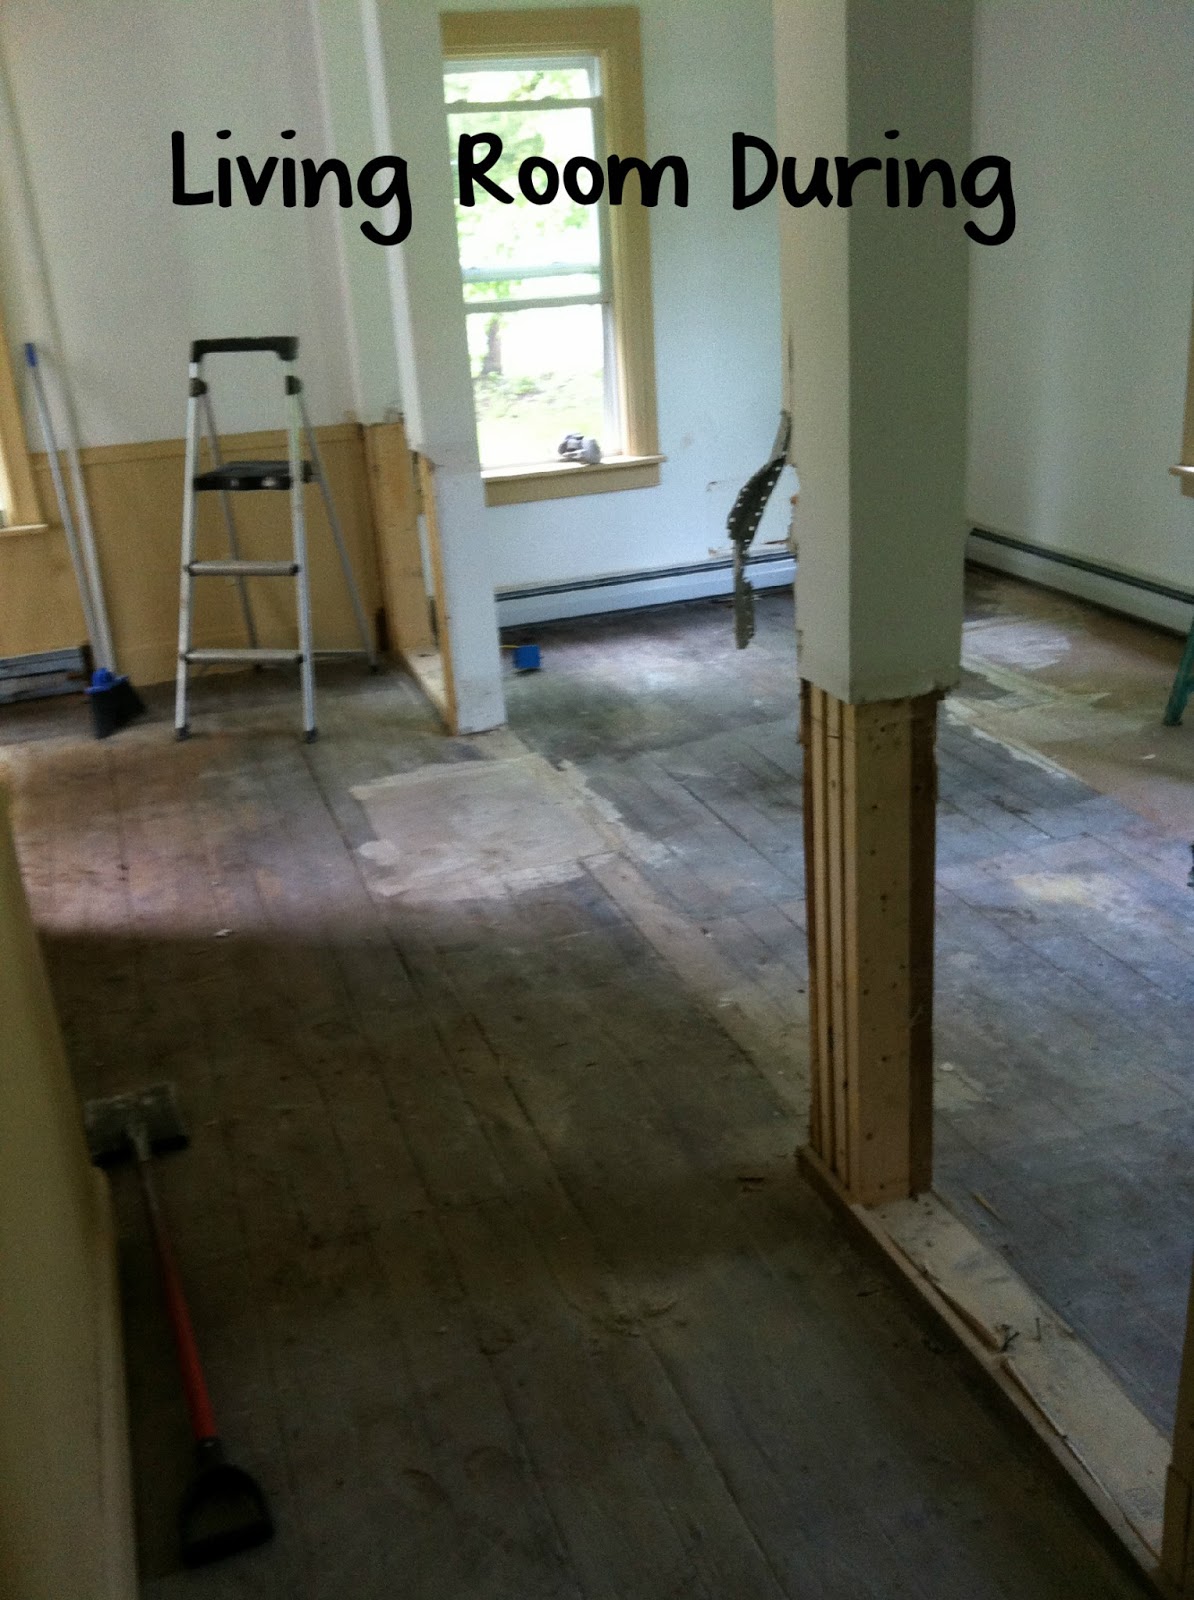
The heating system was all upgraded before we bought the house while it was sitting in foreclosure. Thanks, bank! You can see where the old radiator had left it’s mark on the wall. Thankfully some Kilz primer covered the rust stains!
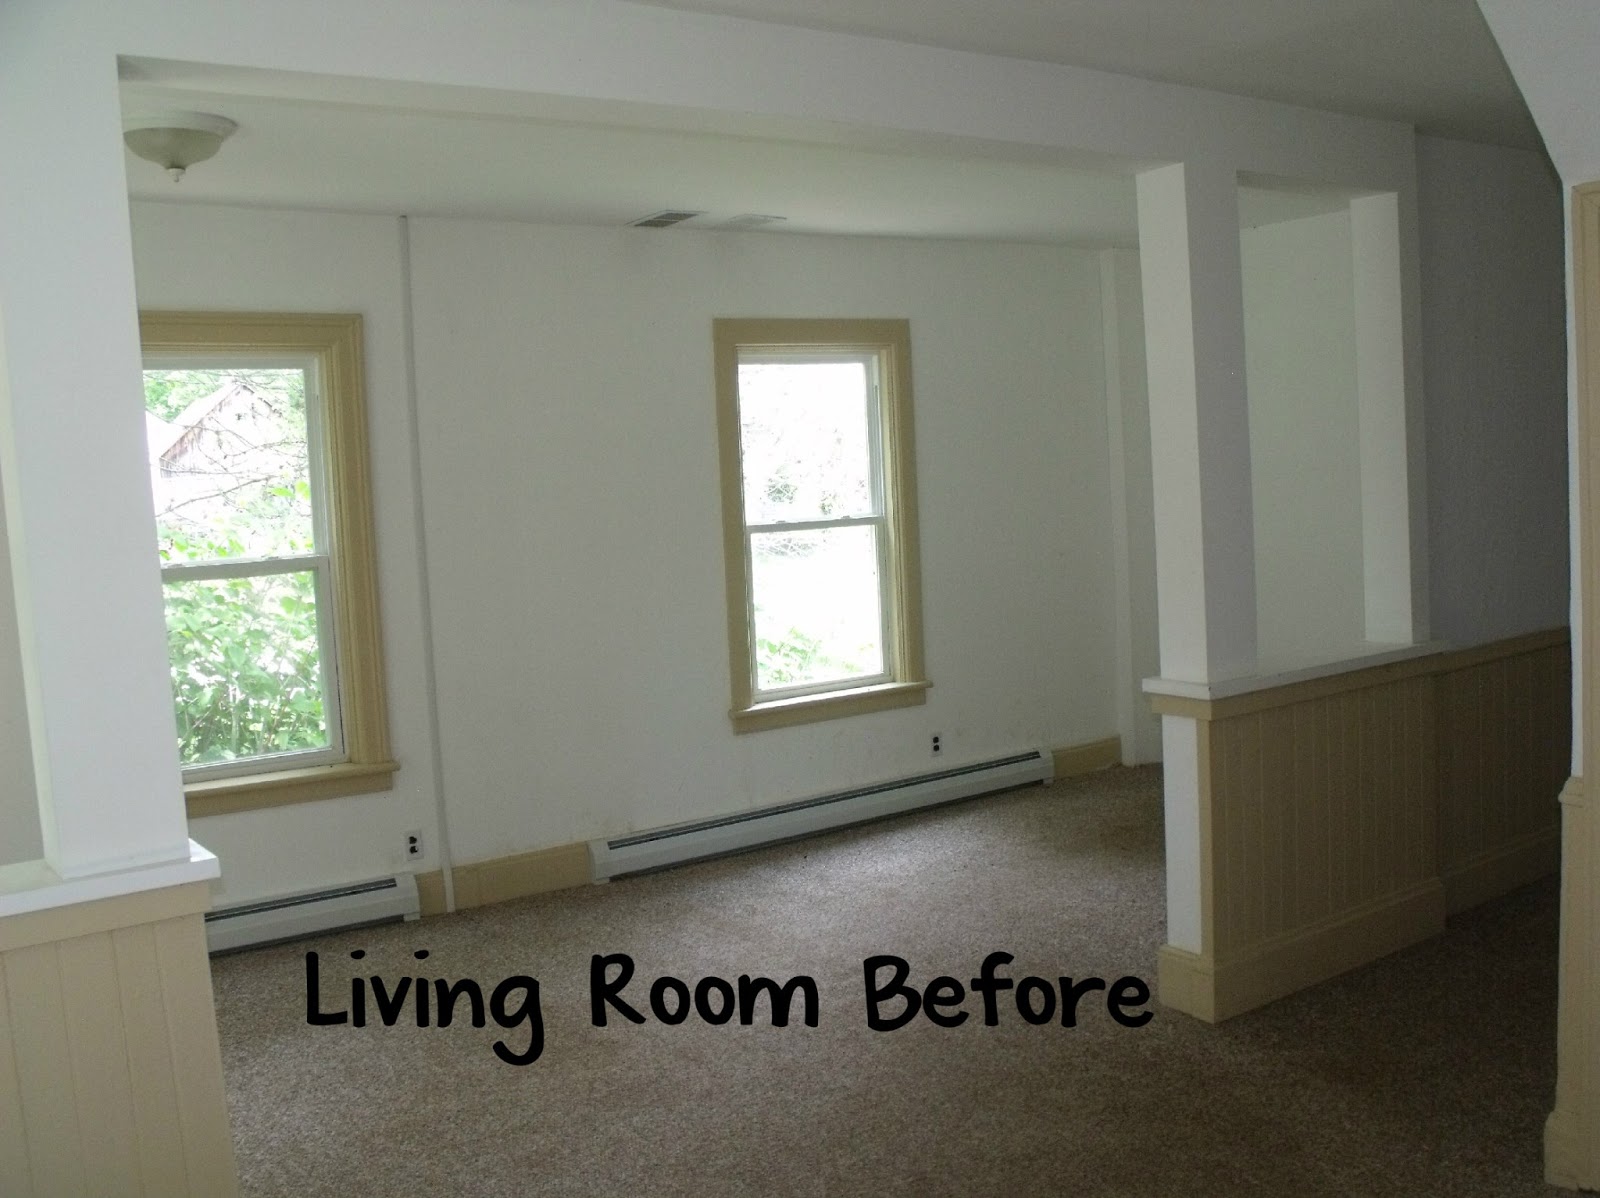
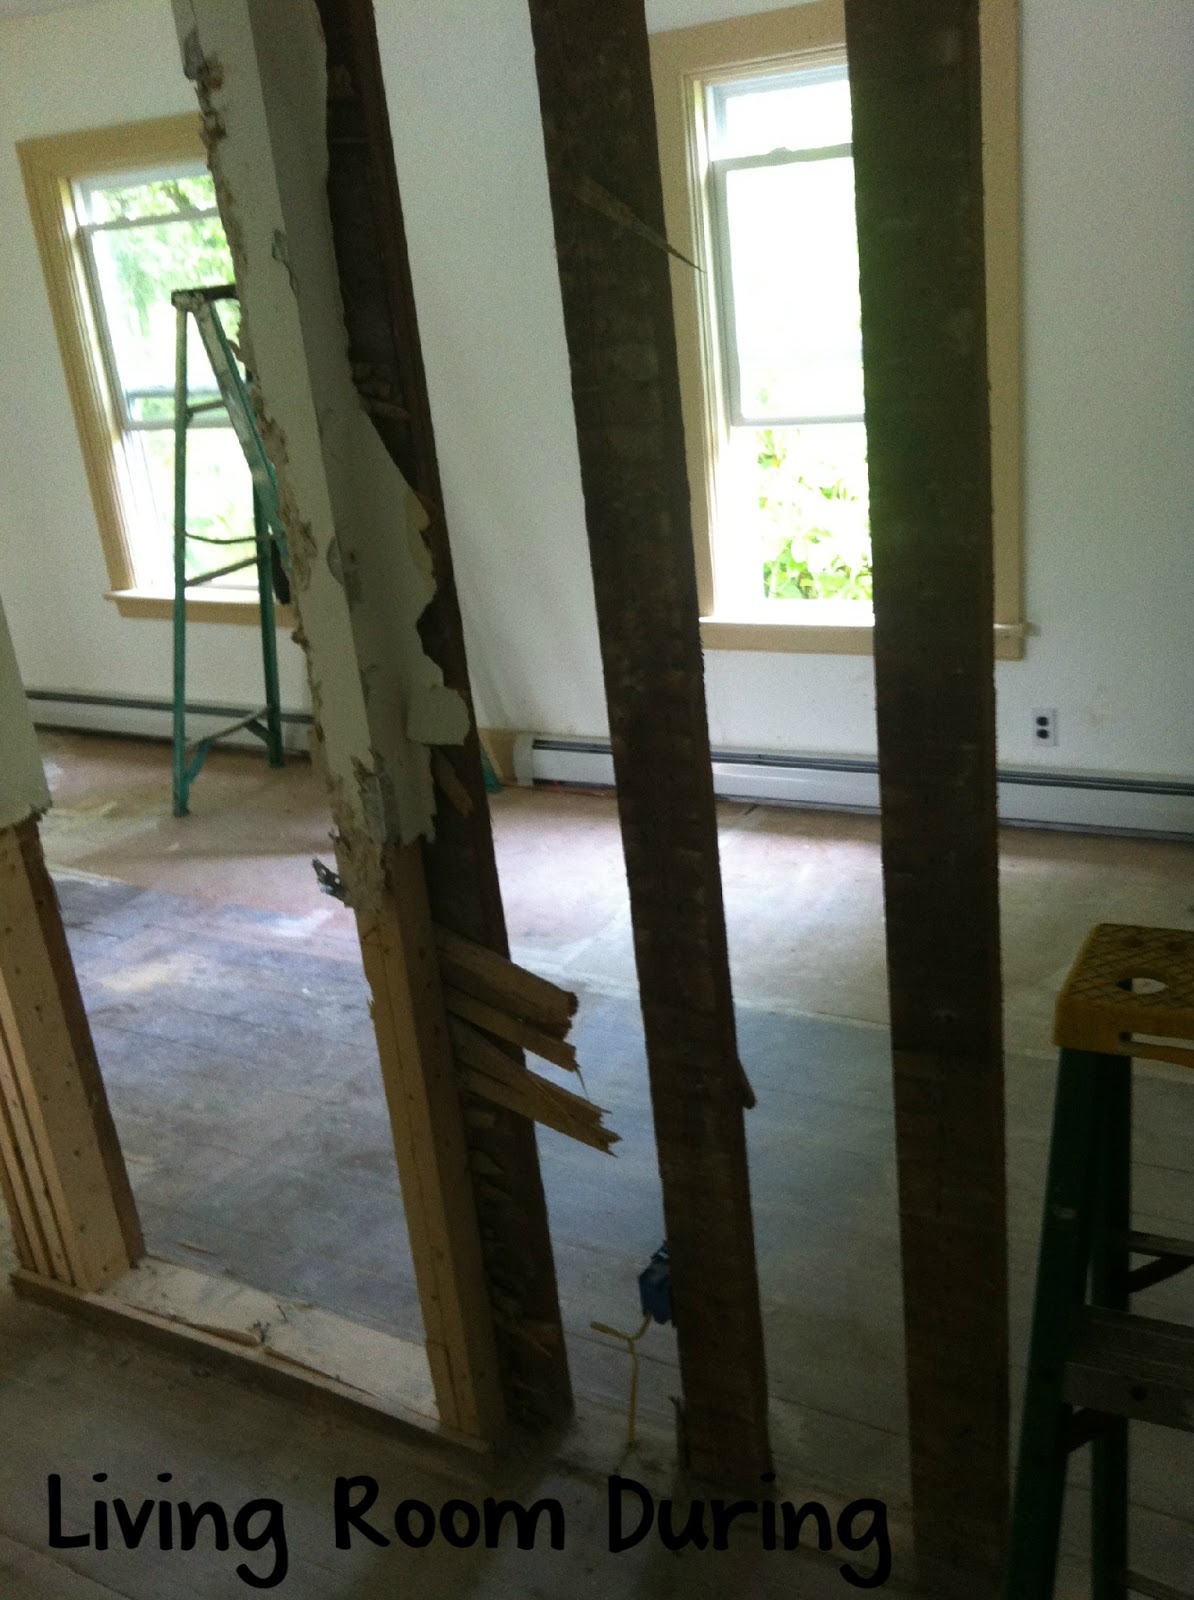
The half walls really narrowed the space. We couldn’t have even fit a couch in there! Bye bye walls!
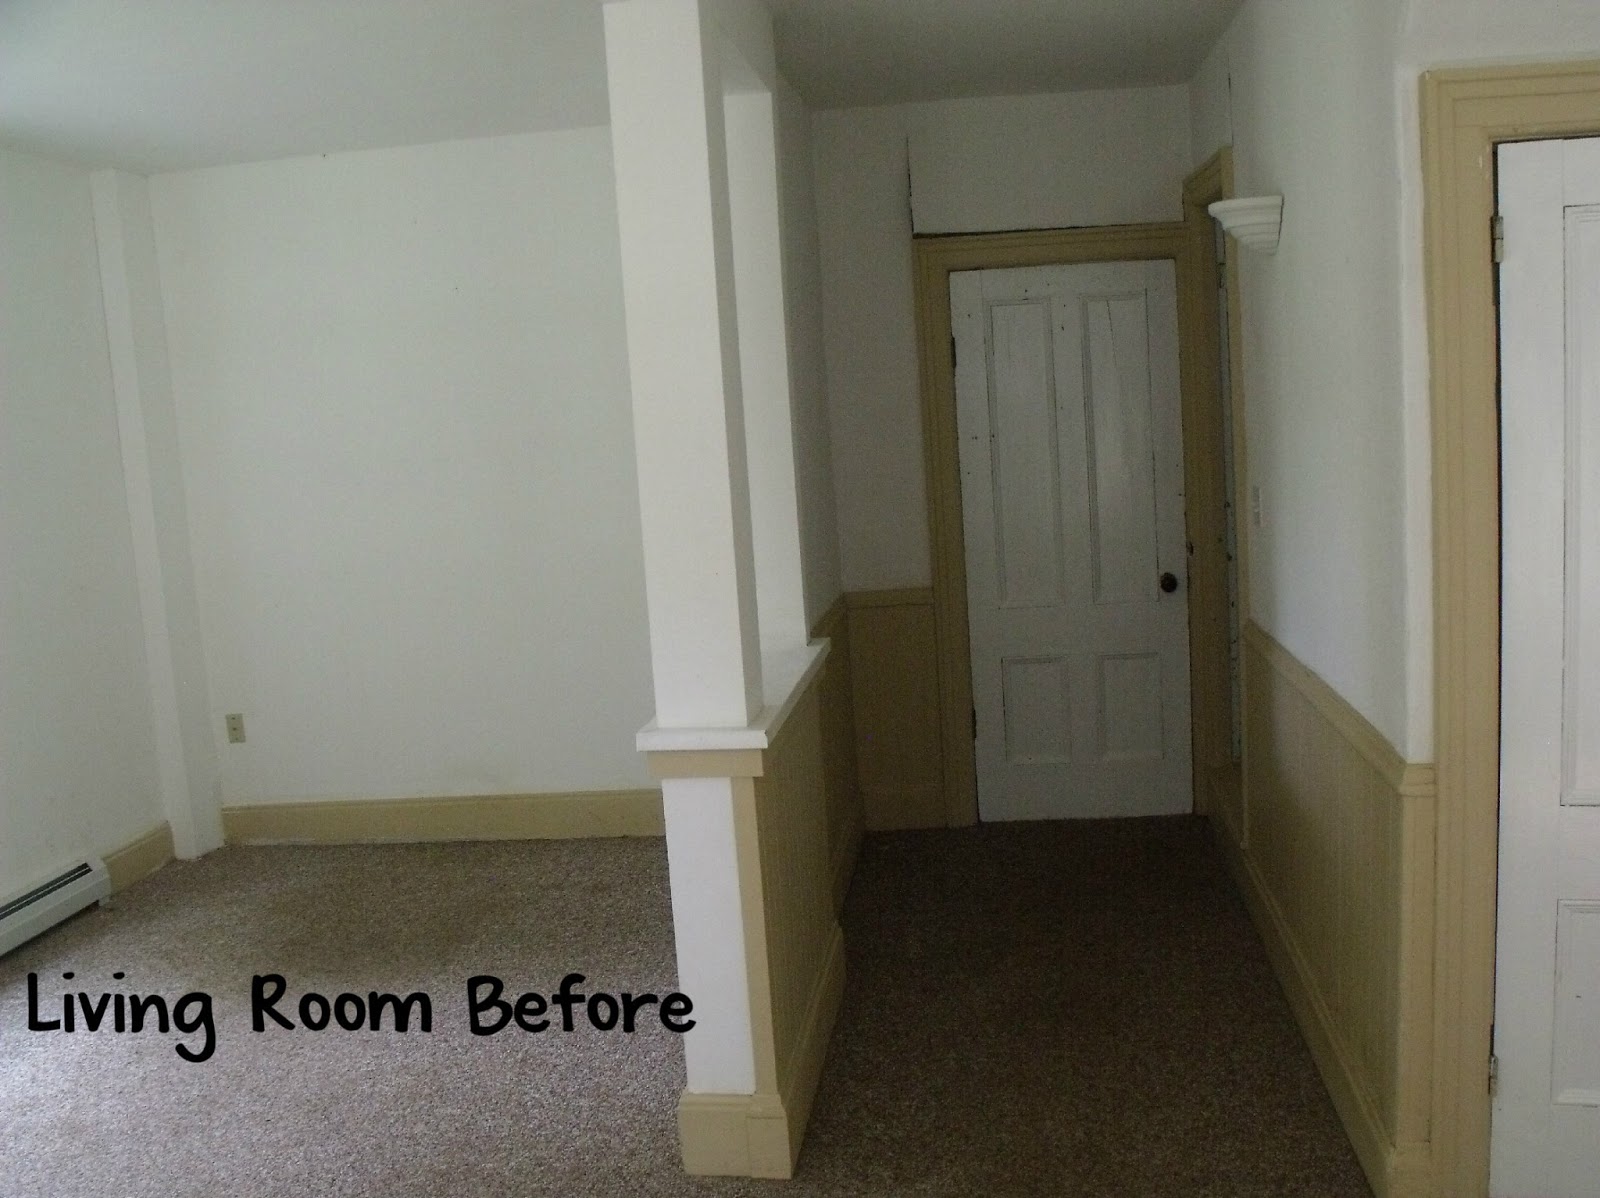
That door led to nowhere. In fact, there’s siding on the other side of it! We had it removed for obvious reasons.
Here the contractors have started to remove the walls. This was super exciting! And very messy. I was so grateful that we were not living in the house while the work was being done. Even if it did mean
living in a hotel!
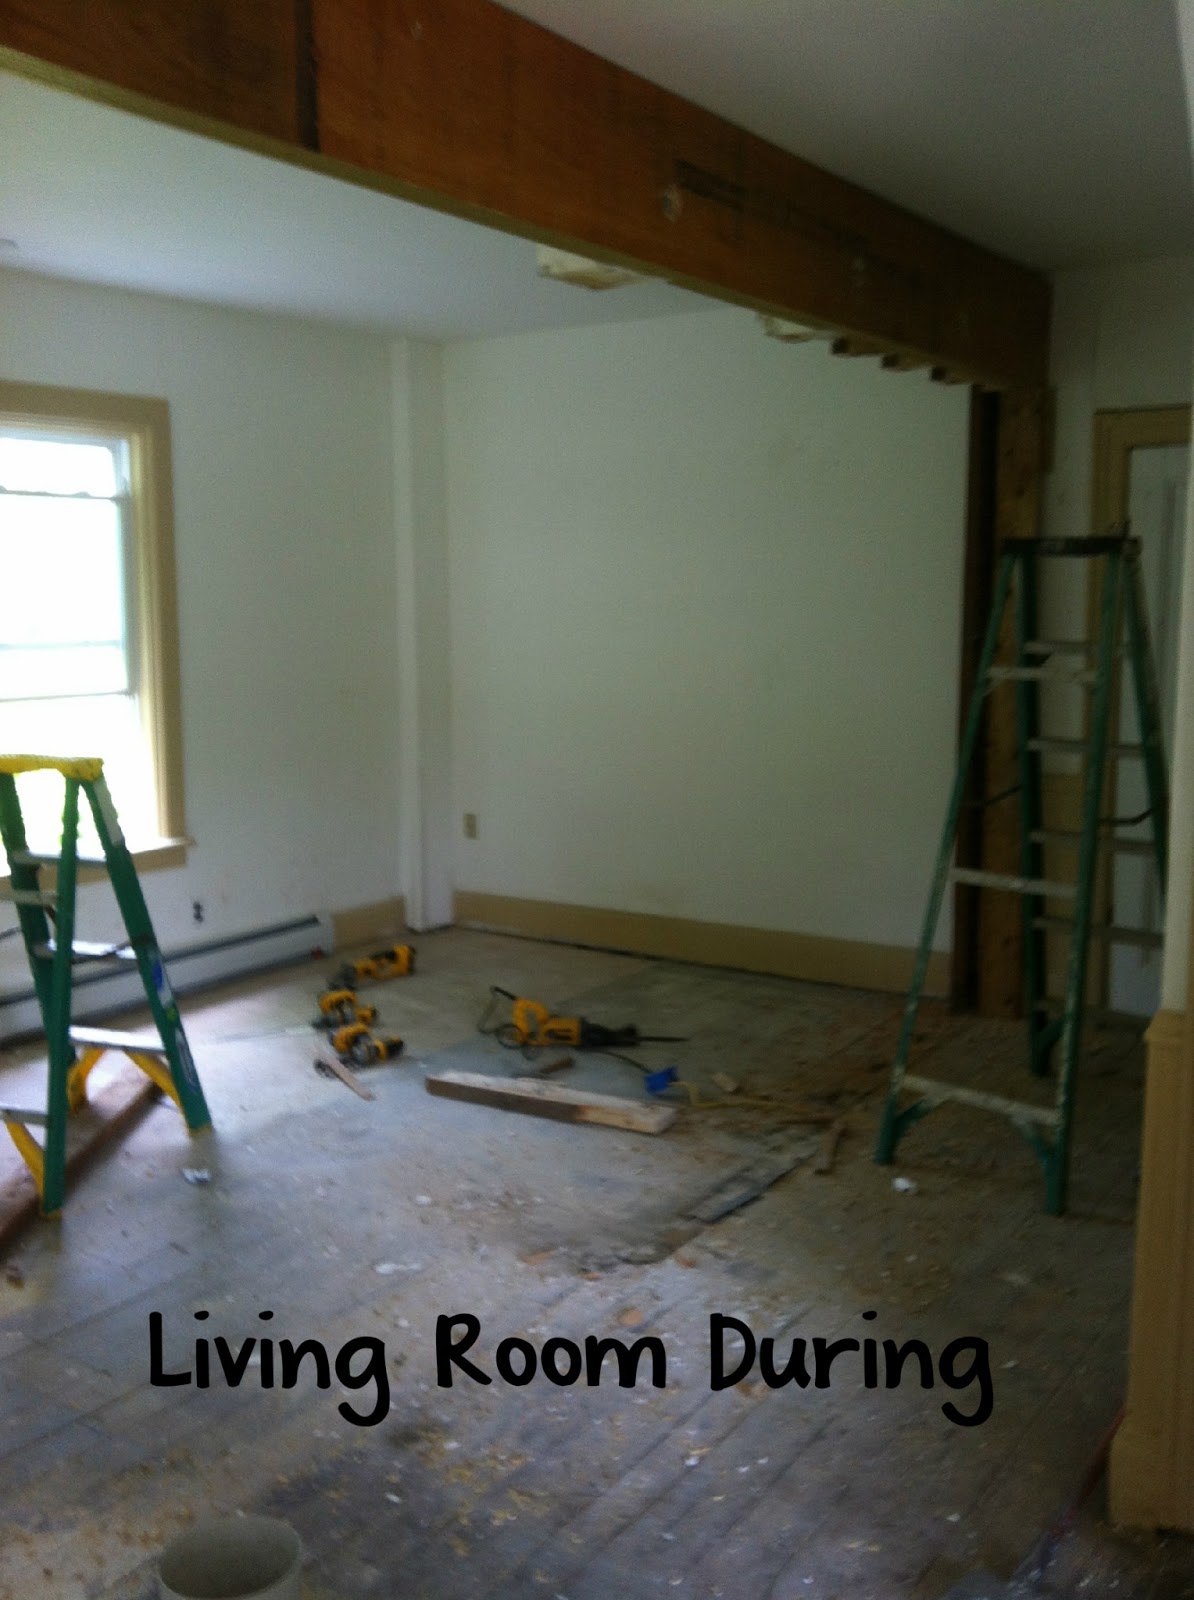
Adding this nice big beam meant we could take down the walls without fear of anything collapsing. They also put some extra support in the basement underneath. Well worth the time and money!
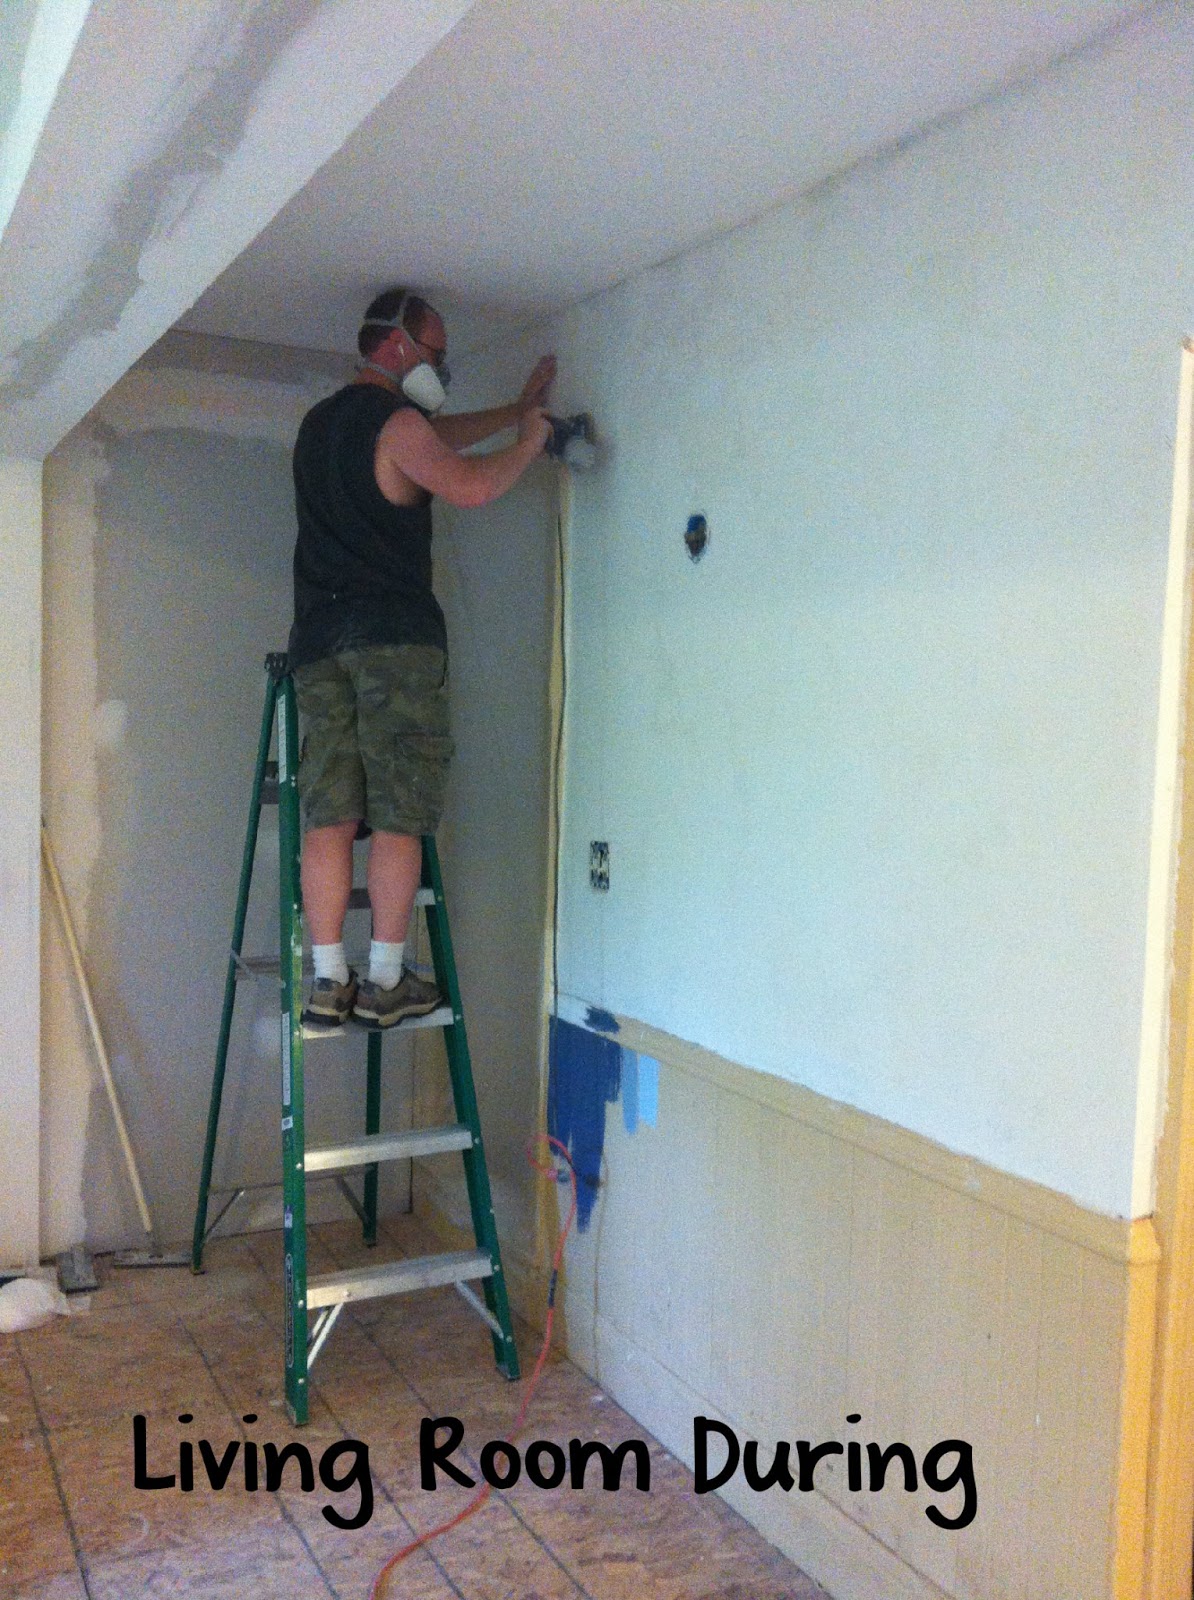
While most of the walls in the living room are drywall, this one side was plaster just like
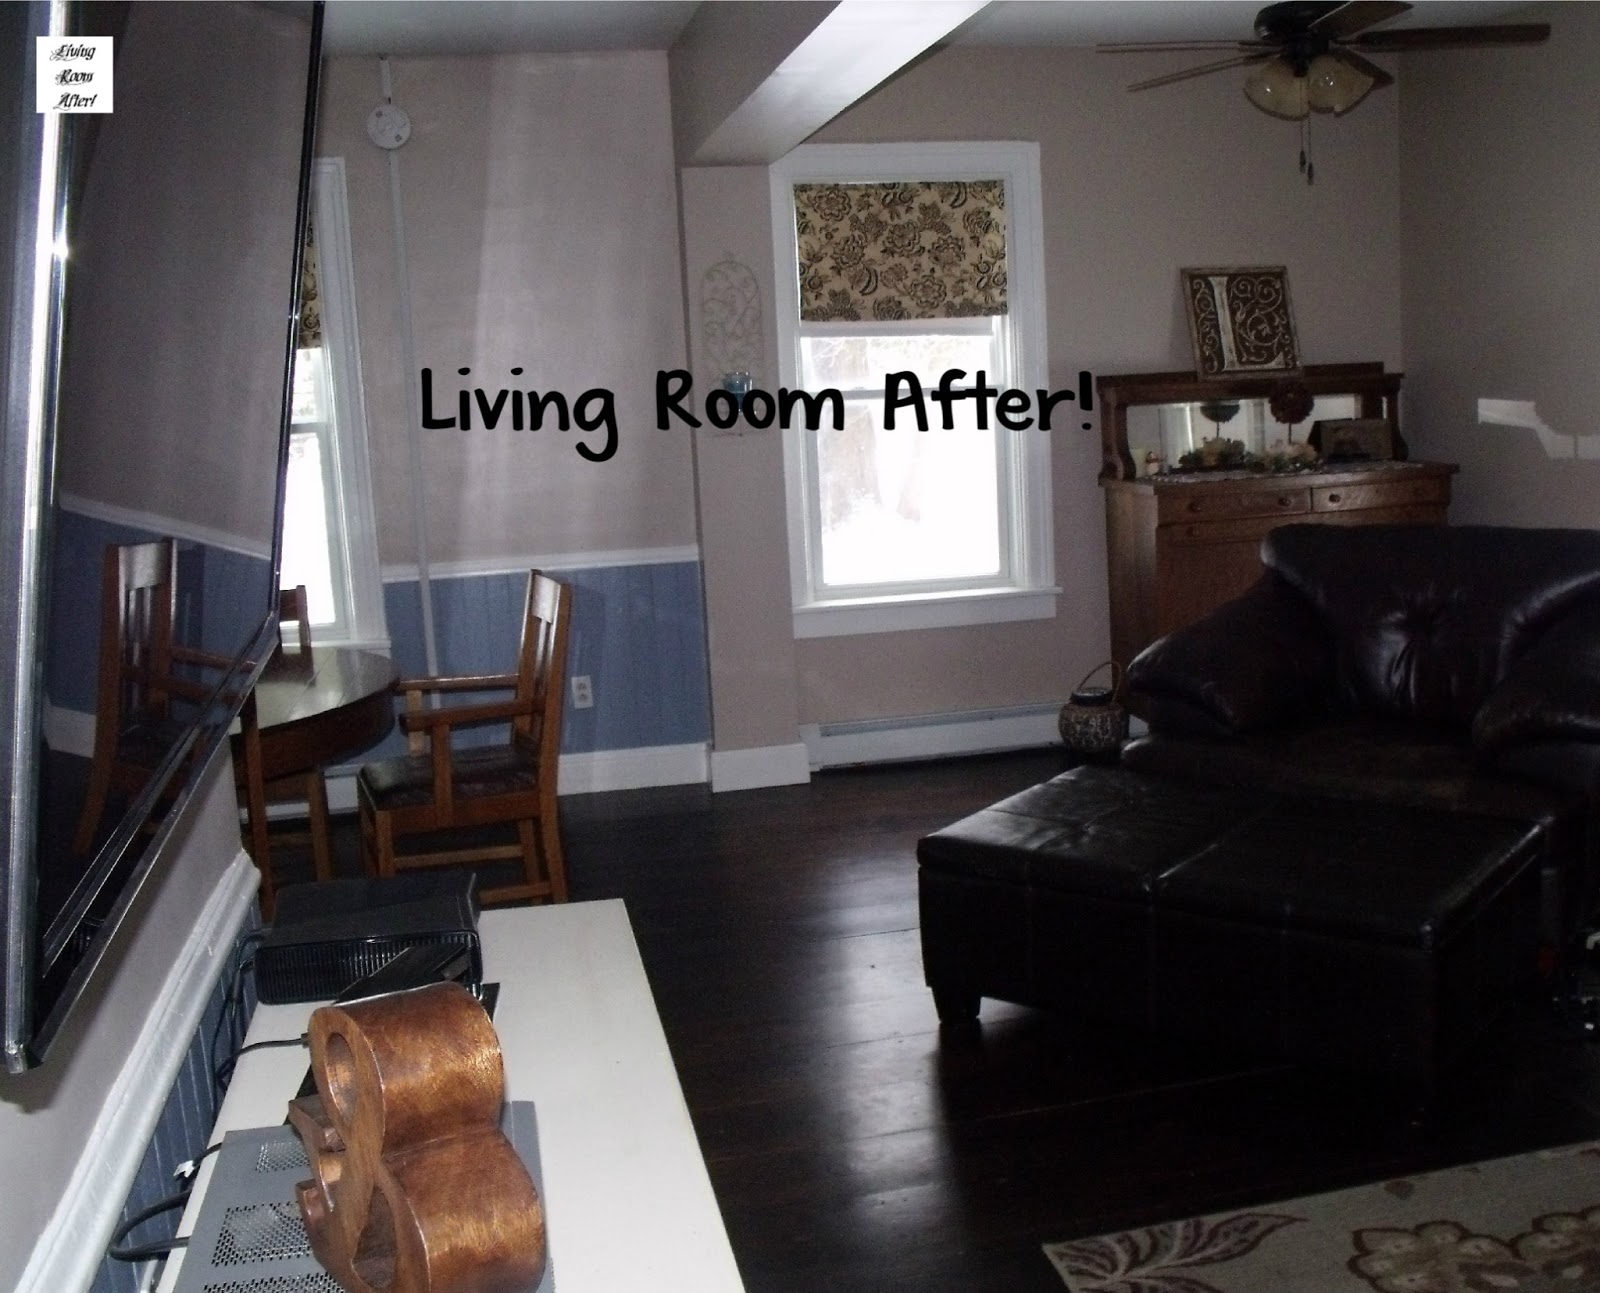
the dining room. So lucky Matt got the job of more smoothing and sanding. You’ll notice the various blue colors on the bottom wall there. I had the hardest time deciding on a blue! I finally decided on Coastal Vista by Behr at Home Depot.
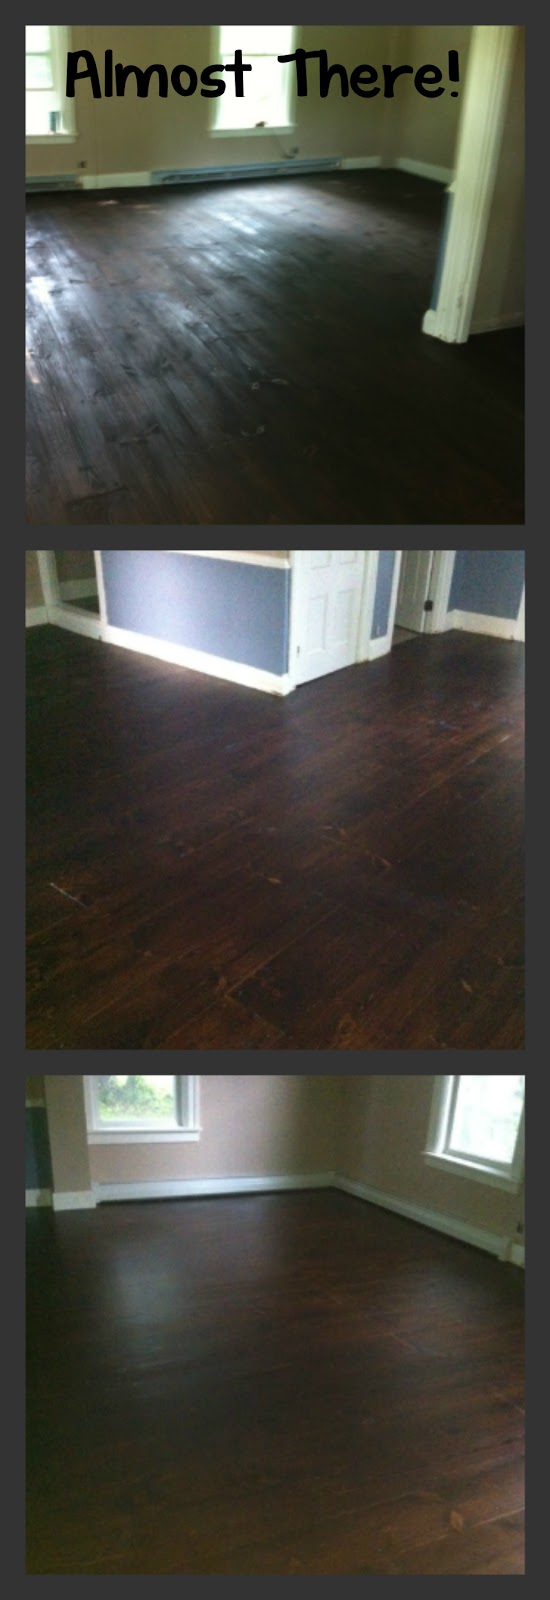
We went away for a week of family camp while the floors were being installed. This was the first glimpse we got of them being done. It felt so good after so many weeks of it looking like a disaster area to come home to find this! It finally looked like a house! We chose to install real pine floors. We were not able to save the original floors on the first level but we wanted to look as though the floors had always been here. So I chose a wide plank pine and stained a very dark walnut to get that beautiful dark floor I wanted. It’s easily marked up because pine is soft but the floors look like they have always been here and that’s just what we wanted. Character!
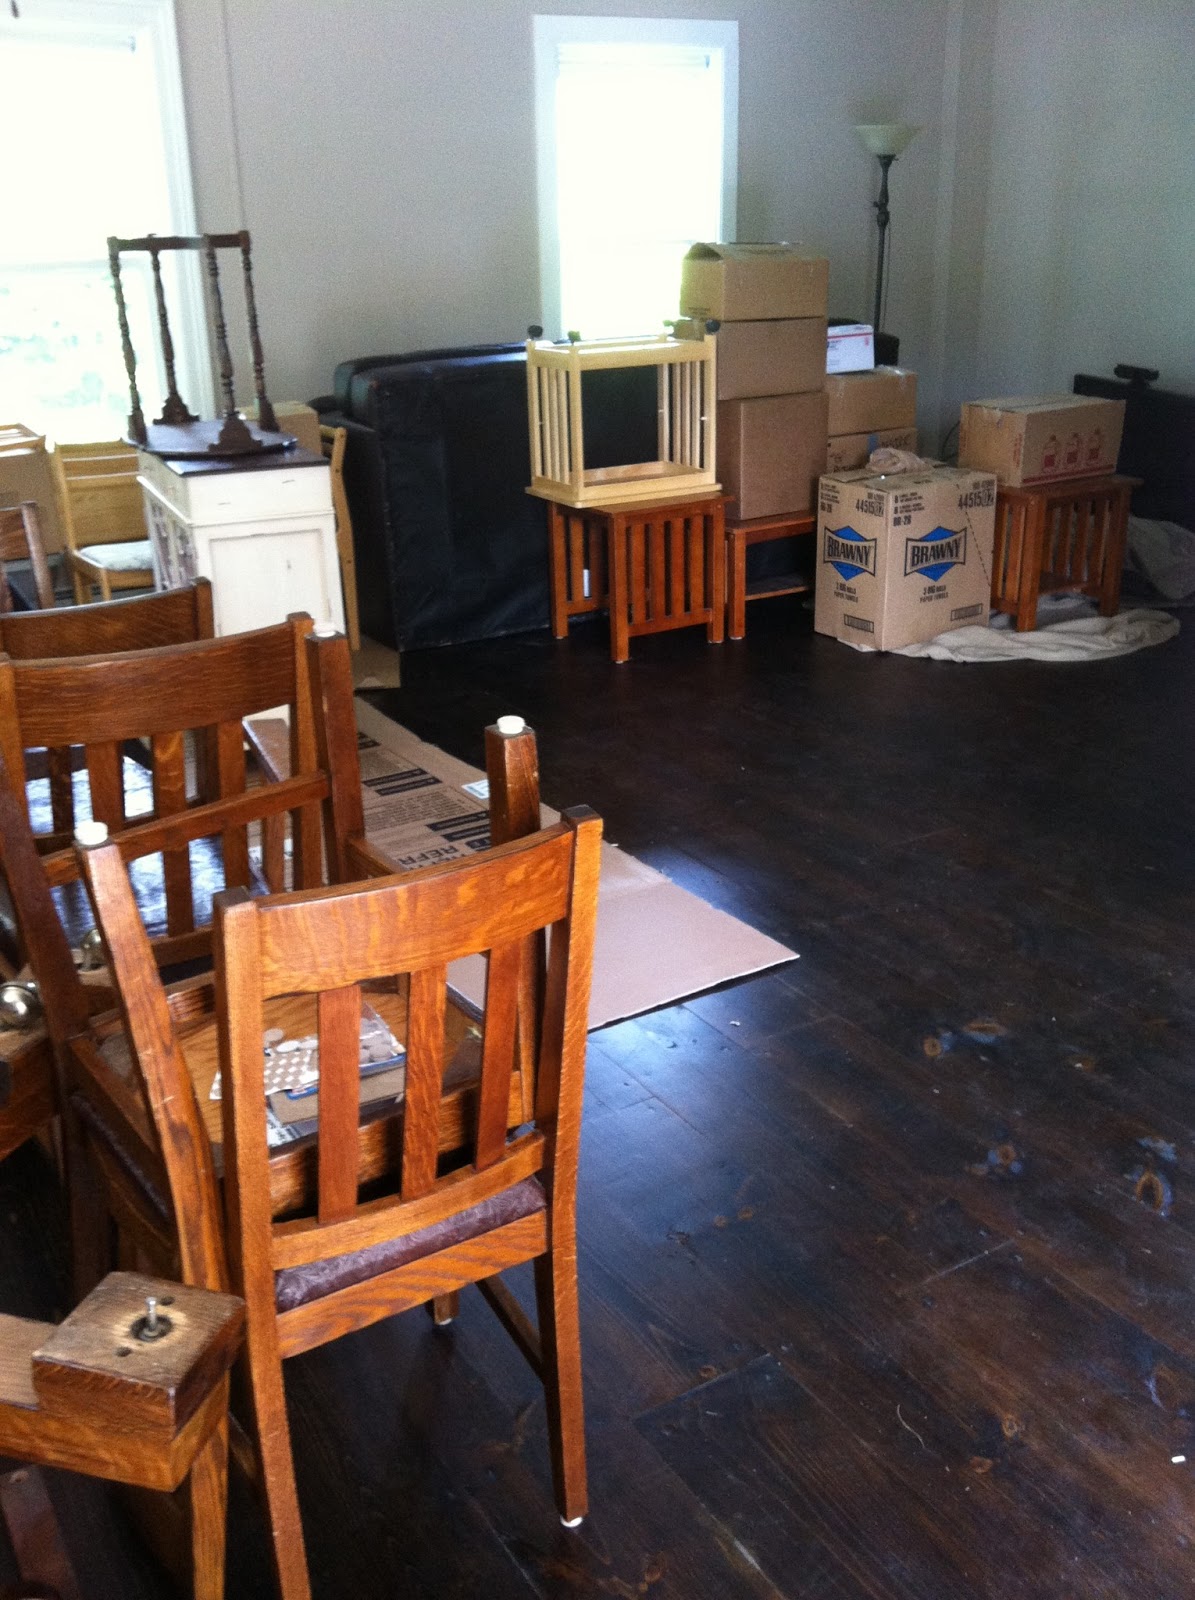
Once we moved in, it took some time to get the living room from looking like this:
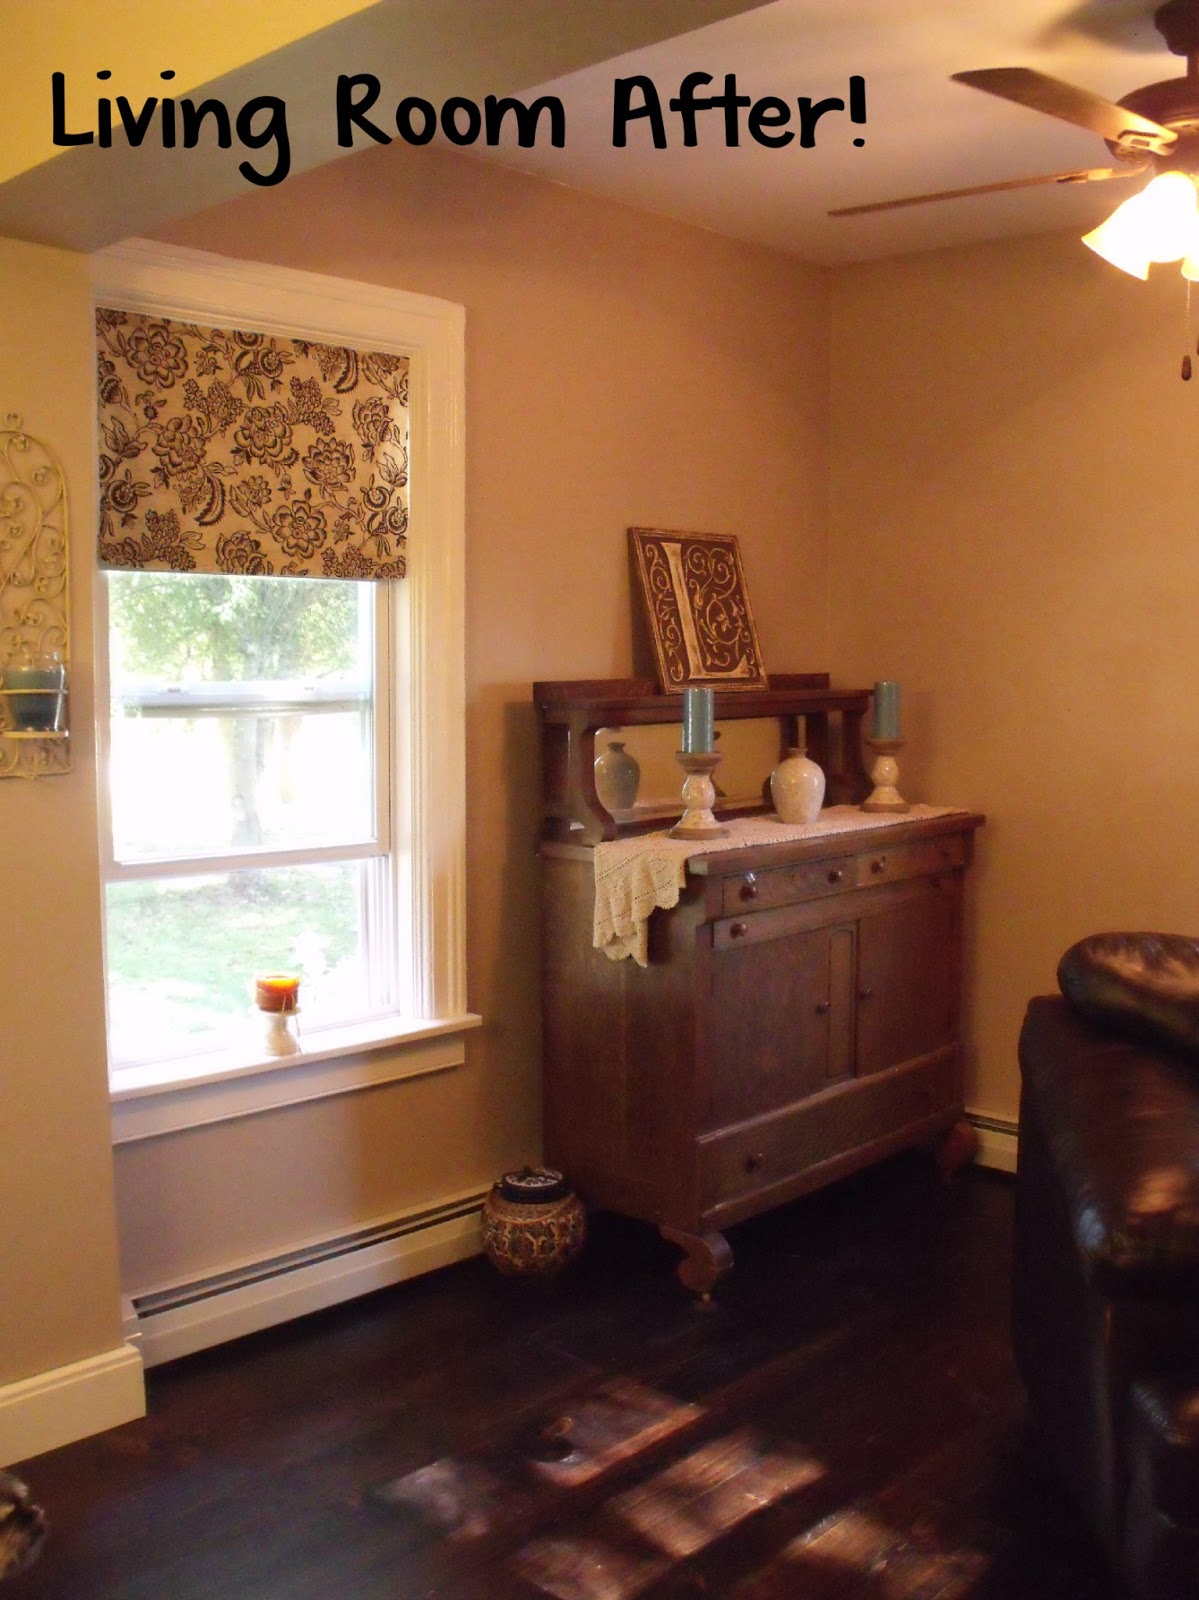
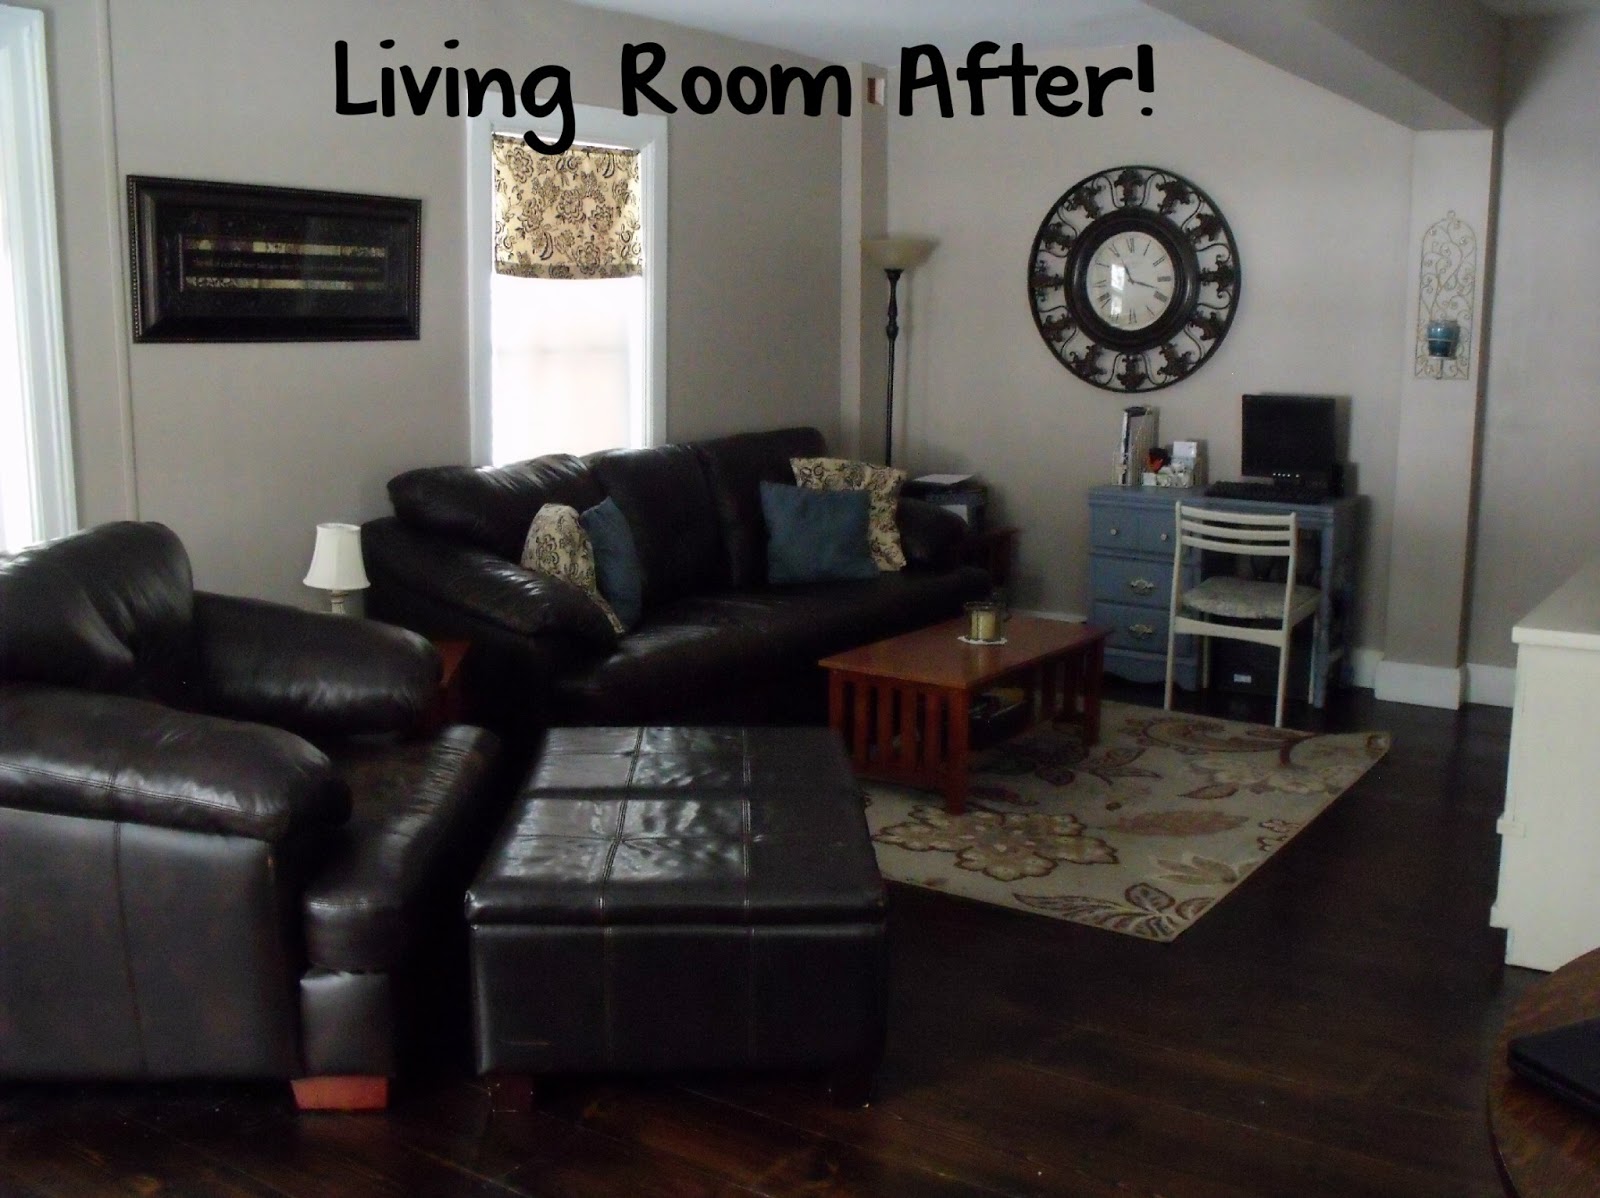
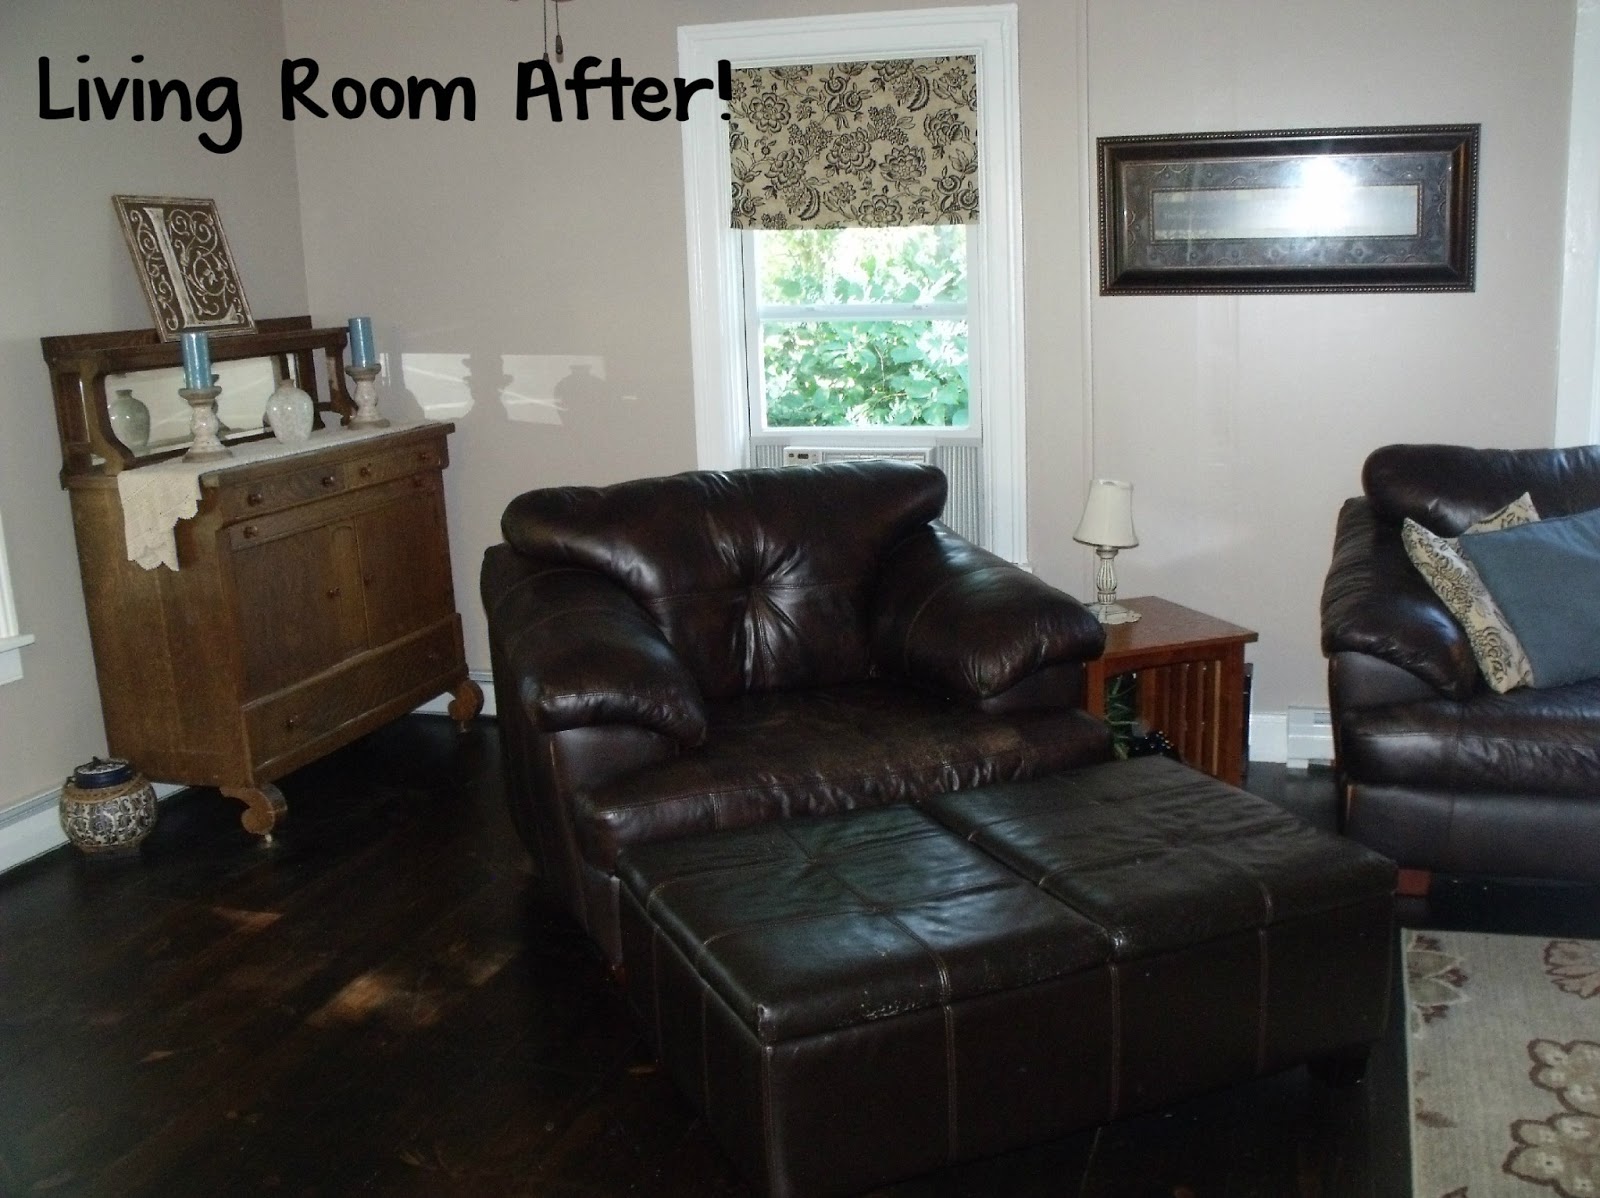
To this!
The only thing I have left to do in this room is to paint and distress the coffee table and end tables to match the cabinet under the tv.
Details!
Tan colored paint: Cafe Latte by Glidden at Home Depot
Large rug: Better Homes & Gardens at Walmart
Ceiling fan, lamps and other light fixtures: Better Homes & Gardens at Walmart
Curtains: Fabric from Joanne’s, made by my Mom!
Pine wide plank floors: Home Depot